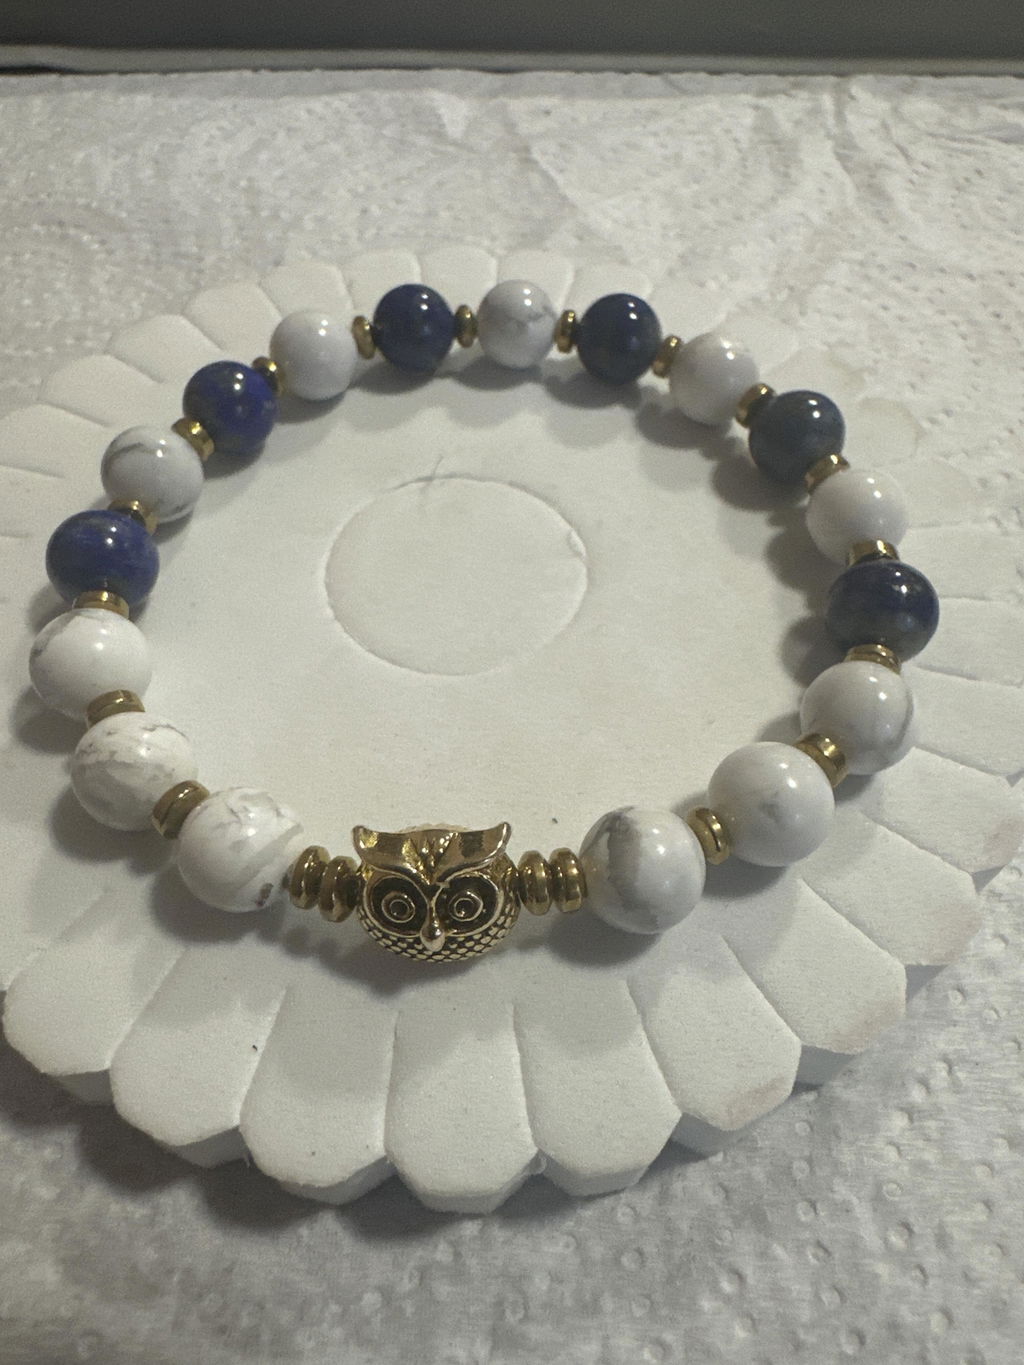
Alternating stretch bracelet: rhodonite and extra-fine lapis lazuli
Share
Create a piece of jewelry with extra rhodonite and lapis lazuli beads. The chosen support is clear jewelry elastic cord. The design includes 24 beads.
Level: accessible with basic stringing skills · Estimated time: 25 minutes · Result: one piece.
What you need
The main reference for this creation: Bead Strand - Rhodonite (8 mm). The quantities indicated correspond to the jewelry, not to the entire strand or batch sold.
- 12 beads to take from the Bead Strand - Rhodonite (8 mm).
- 12 beads to take from the Bead Strand - EXTRA Lapis Lazuli (8 mm).
- 45 cm of 0.5 mm elastic cord, to be adjusted after testing in the holes.
- Compatible glue only if recommended by the cord manufacturer.
Tools
Fine scissors, a ruler, a bead mat, and tape to secure the cords. A locking pliers to temporarily hold the cord.
Before you start
The quantities describe the presented design exactly. Check the size on a temporary stringing before finishing. If you change the number of beads, you are creating a different design from the one on the cover.
Test the passage of each reference on the held cord: the outer diameter of a bead does not indicate the size of its hole. Prepare the components on a bead mat and follow the instructions for the cords and endings. The supplies without a link are to be gathered separately.
Step-by-step instructions
1. Check the size
The design uses exactly 24 8 mm beads, which is about 19.2 cm of stringing length. The inner circumference is smaller: prepare a test around the wrist before finishing. This design is only suitable if this test is comfortable.
2. Prepare the design
Place the beads in this order: 1 rhodonite bead → 1 extra lapis lazuli bead → 1 rhodonite bead → 1 extra lapis lazuli bead → 1 rhodonite bead → 1 extra lapis lazuli bead → 1 rhodonite bead → 1 extra lapis lazuli bead → 1 rhodonite bead → 1 extra lapis lazuli bead → 1 rhodonite bead → 1 extra lapis lazuli bead → 1 rhodonite bead → 1 extra lapis lazuli bead → 1 rhodonite bead → 1 extra lapis lazuli bead → 1 rhodonite bead → 1 extra lapis lazuli bead → 1 rhodonite bead → 1 extra lapis lazuli bead → 1 rhodonite bead → 1 extra lapis lazuli bead → 1 rhodonite bead → 1 extra lapis lazuli bead. The connection is located between the last and the first bead.
3. String without tension
Pre-stretch the cord according to its instructions. Secure one end with locking pliers, then string the entire sequence. Do not stretch the cord to gain length.
4. Close the bracelet
Gently pre-stretch the elastic according to the manufacturer's instructions. After stringing, bring the two ends together without stretching the bracelet. Tie a surgeon's knot, with a double pass for the first half-knot, then an inverse half-knot. Use a drop of glue only if recommended for this elastic. Let it dry for the prescribed time, test gently, then trim while leaving a short margin. Do not force the knot into a hole that is too narrow.
5. Check the fit
Check that the bracelet passes over the hand without excessive tension and does not mark the skin. Roll it over the hand to put it on. The knot remains at the back, between two beads.
The detail that makes the finish
Check the number of beads before closing: 12 rhodonite, 12 extra lapis lazuli. The knots and connections remain discreet and must not block the movement of the stones.
Your finished jewelry
Check each attachment with a gentle pull. Pass a fabric over the metal parts: no point should catch. Wipe the stones with a soft cloth and keep the cords away from household products.
Find the references used: Bead Strand - Rhodonite (8 mm), Bead Strand - EXTRA Lapis Lazuli (8 mm). Natural stones show variations in shade from one bead to another.
To prepare your next creation, find the bead strands from Minéraux d’Ailleurs.